I apologize if the engineers get offended by this little experiment, in no way I am doubting their expertise in producing a fantastics product, there is a reason why I choose Alta Labs considering there are many more established products out there, I want to be different and I did it with a leap of faith.
Everybody has different environment and use case, obviously I am not comfortable with the heat produced by the equipment, if slapping a few blocks of alumimium fins can improve that, I am all in for that just like some people insist on after market’s heatpipe or even water cooling their Intel or AMD processor althouth the stocks heatsink fan worked without issue.
Tell me and I will stop posting anything else from here,but that will not stop me in pursuing better cooling on these devices
That is totally fair! Experiment away for sure. It certainly voids the warranty, but I don’t think it voids any of the forum rules. I did take my Route10 apart when I got it, but I didn’t take any pictures of it. I am not sure I am comfortable taking it apart again. I apologize for that.
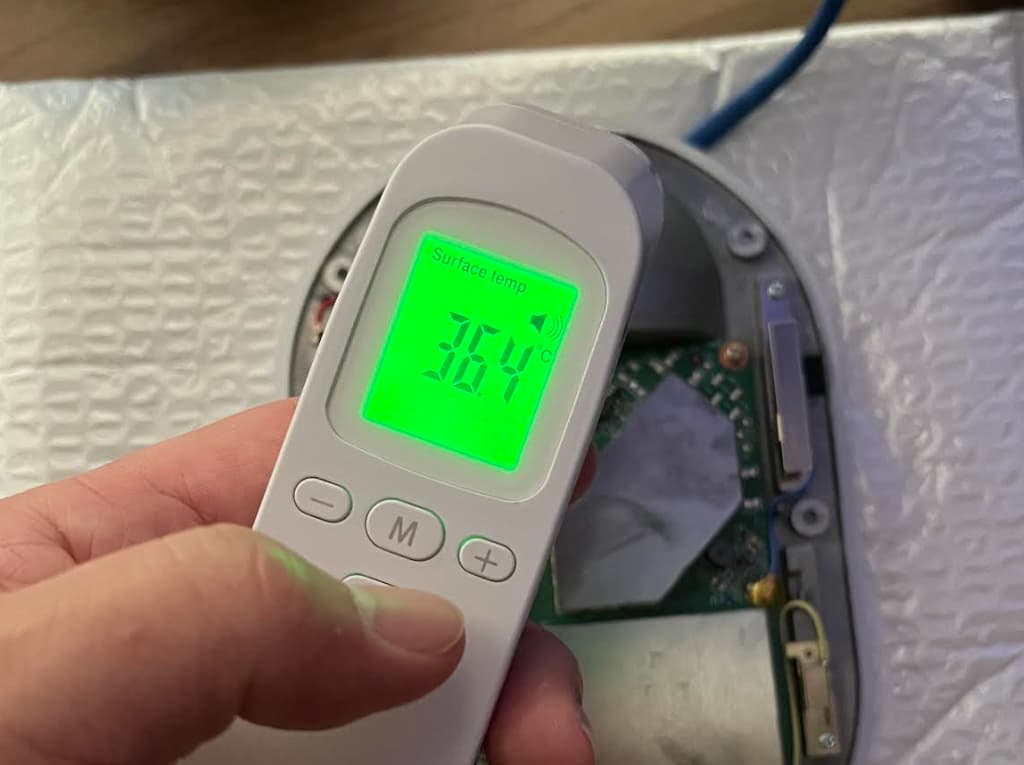
Can’t believe I bought a thermometer just for this test, took some readings before I do anything, the temp looks much lower than I though, probably because the AP is on my desk and here has better ventilation, anyhow that is just a baseline, hopefully I can see lower temp with the additional add on
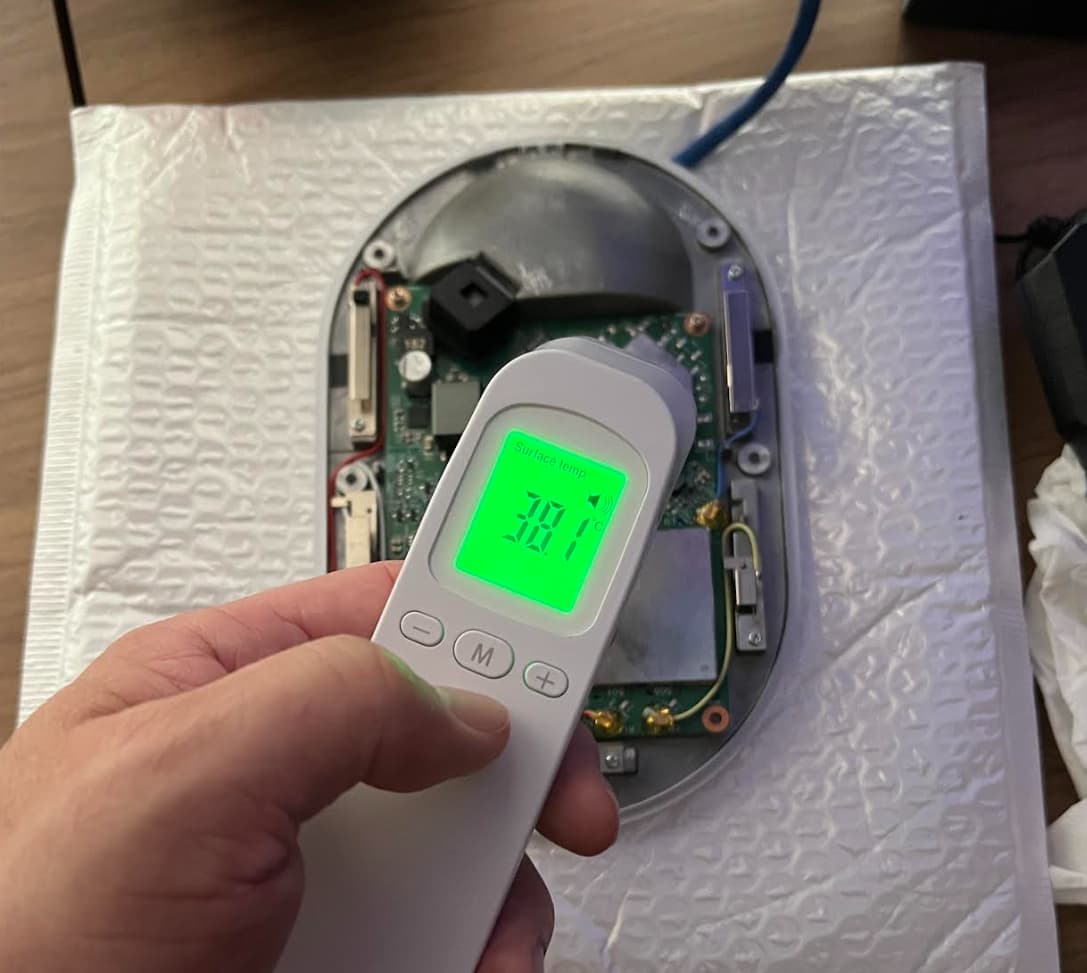
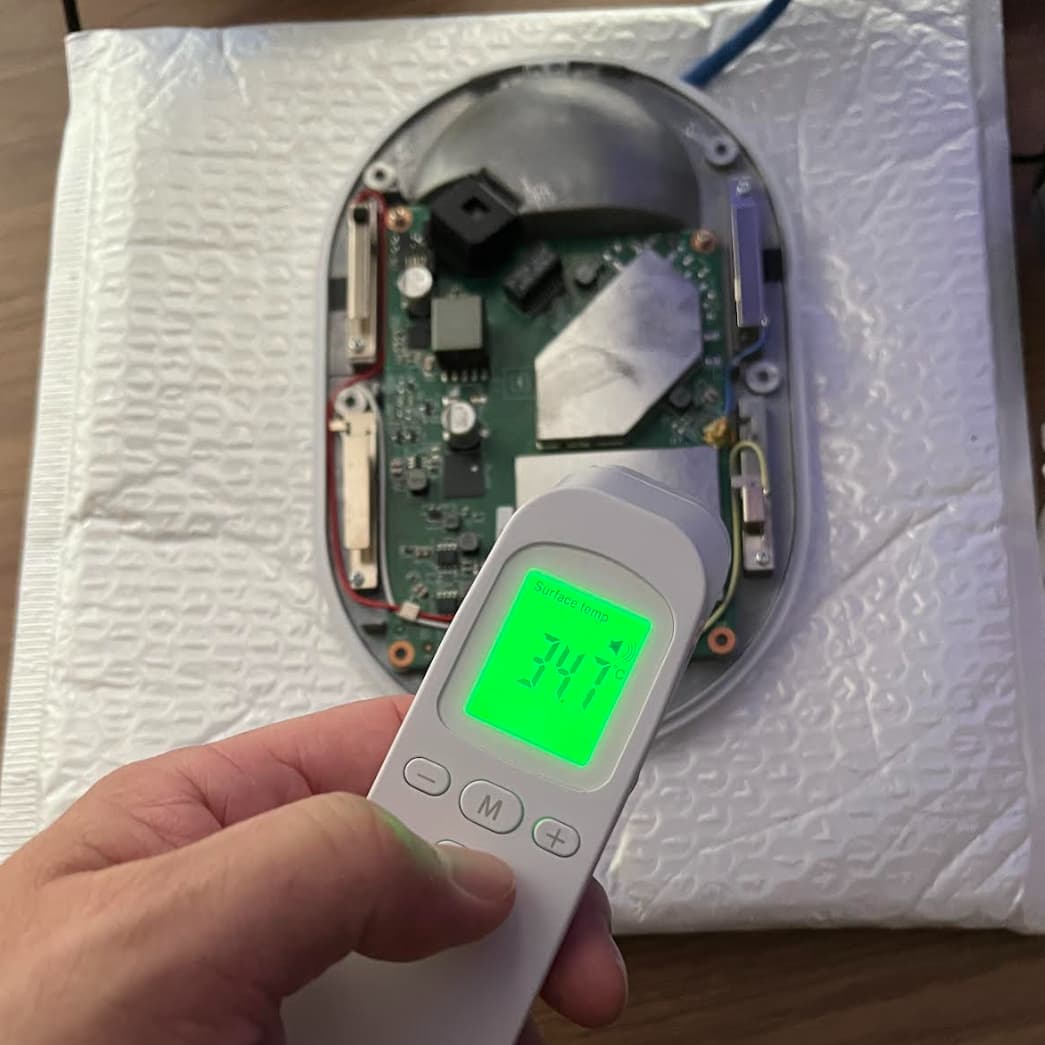
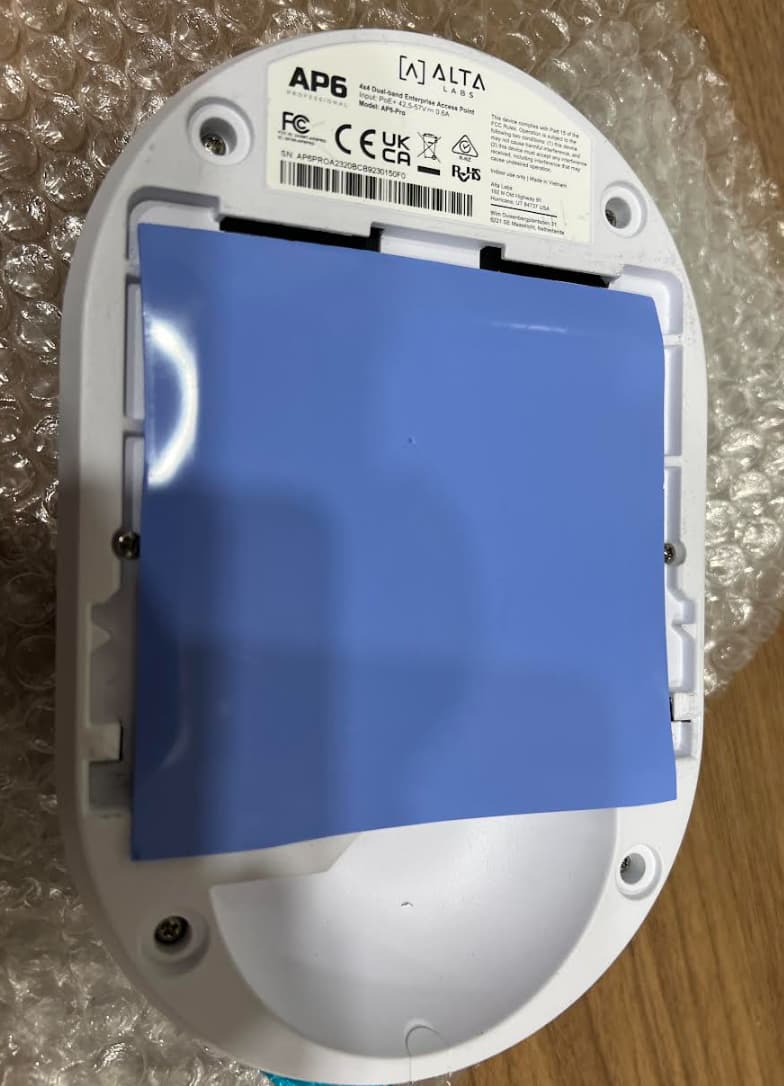
The back of the AP, this is the hottest reading I got
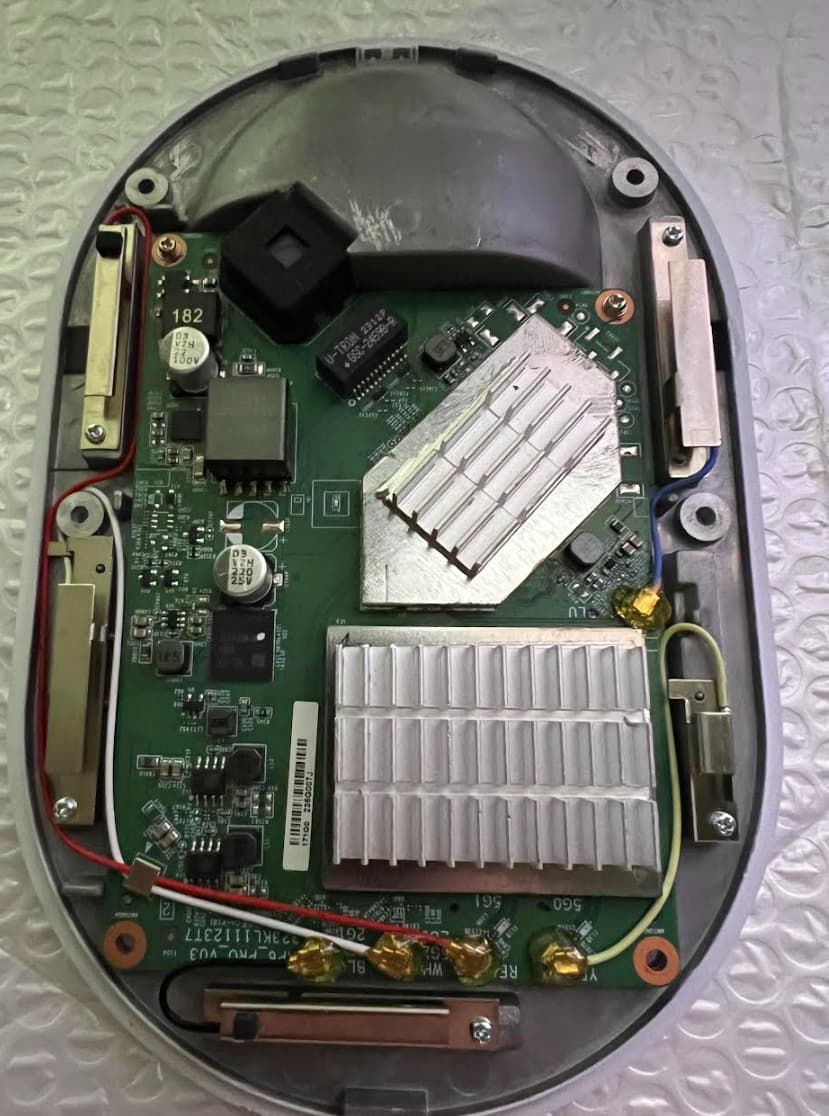
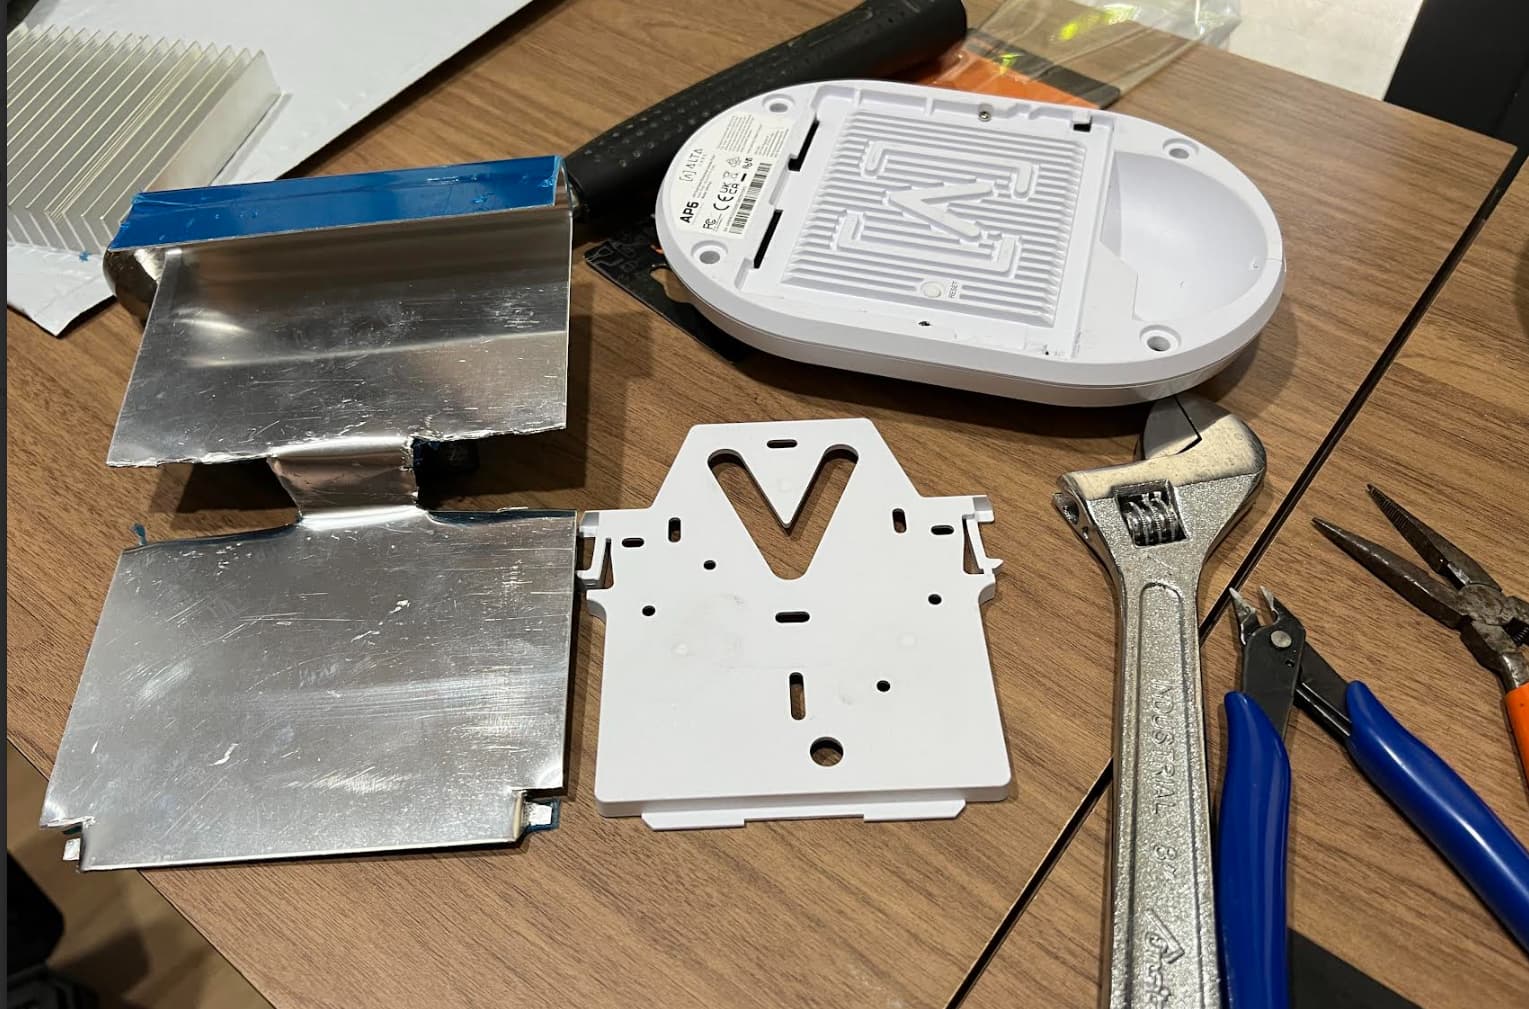
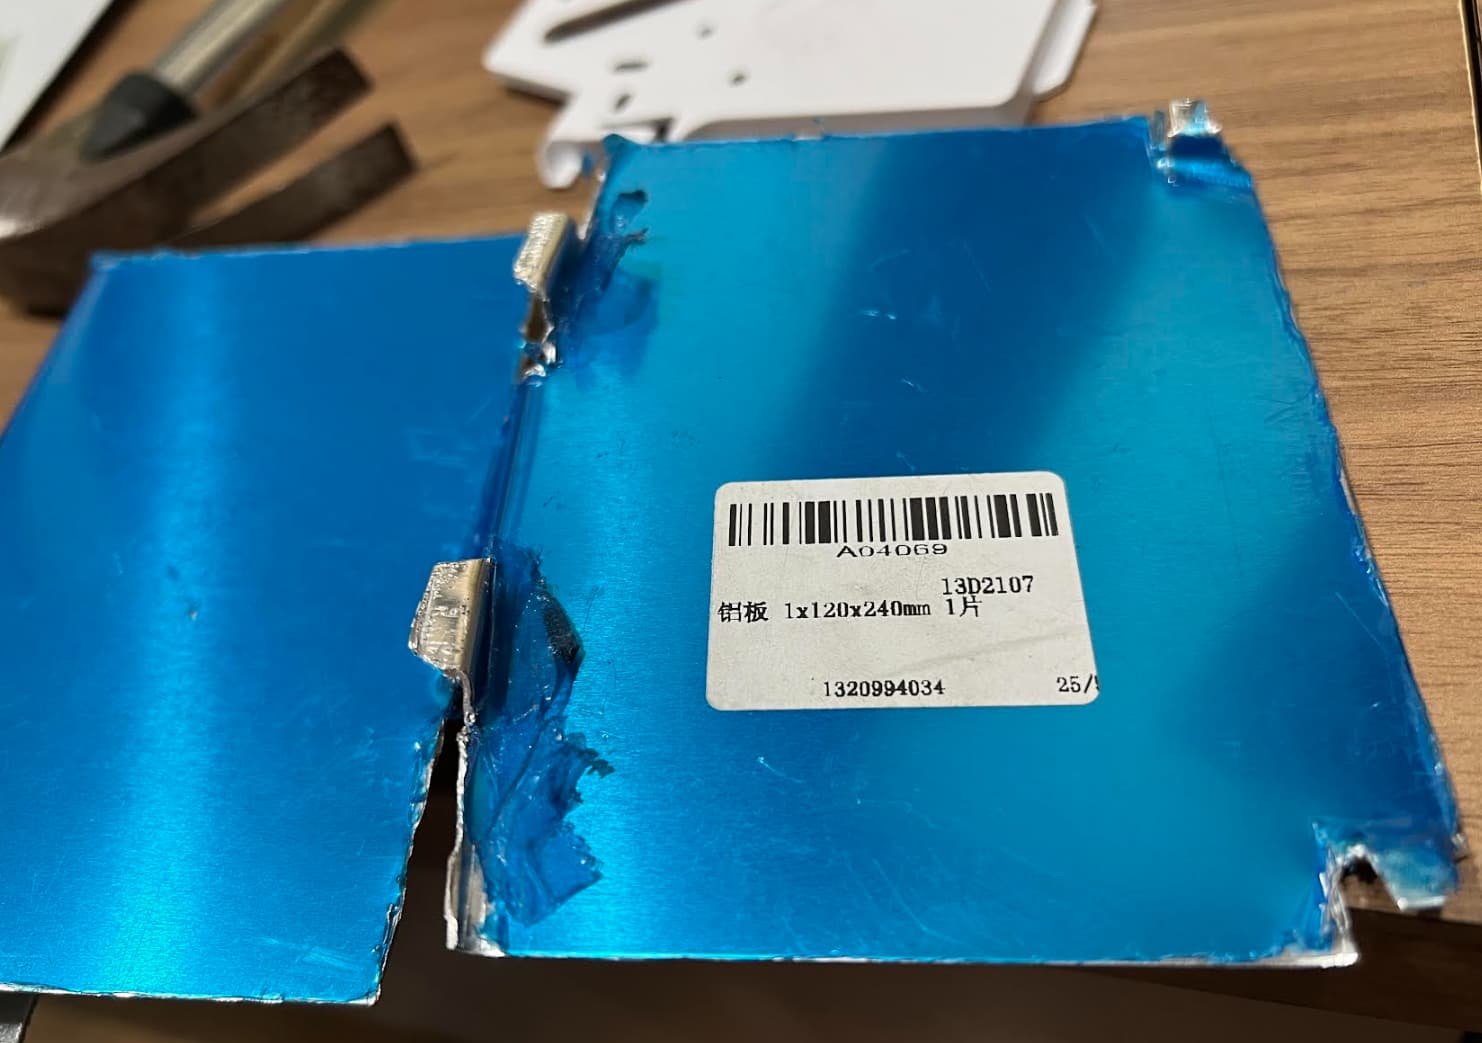
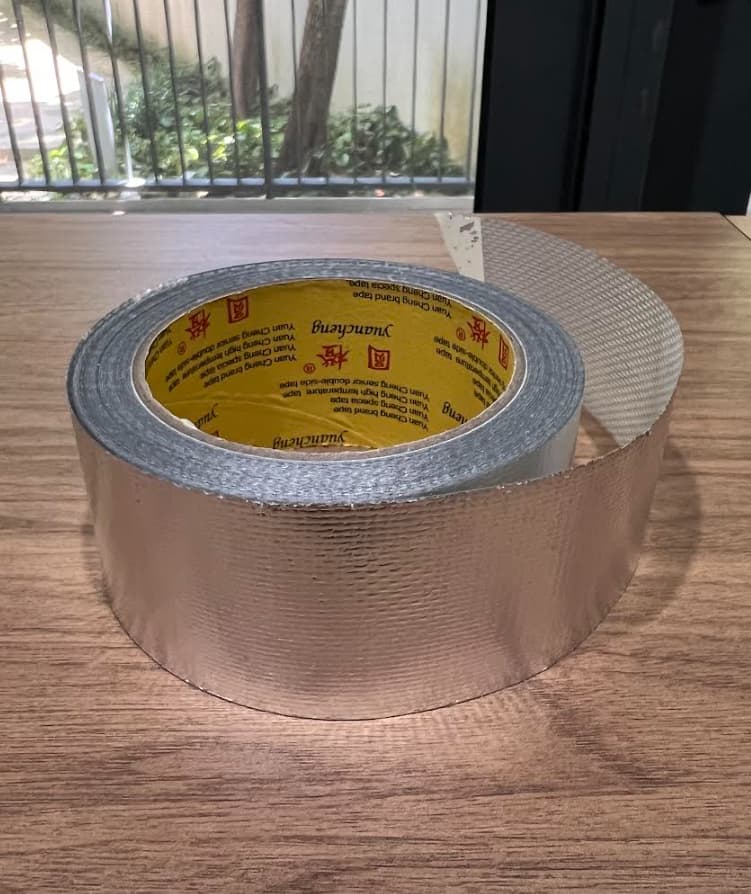
On the handy manny part, get myself finger blistering…it was so hard to do without proper tools, I have to improvise with whatever I have in my tool box and the cutting was so ugly that I don’t care anymore as long as they fit
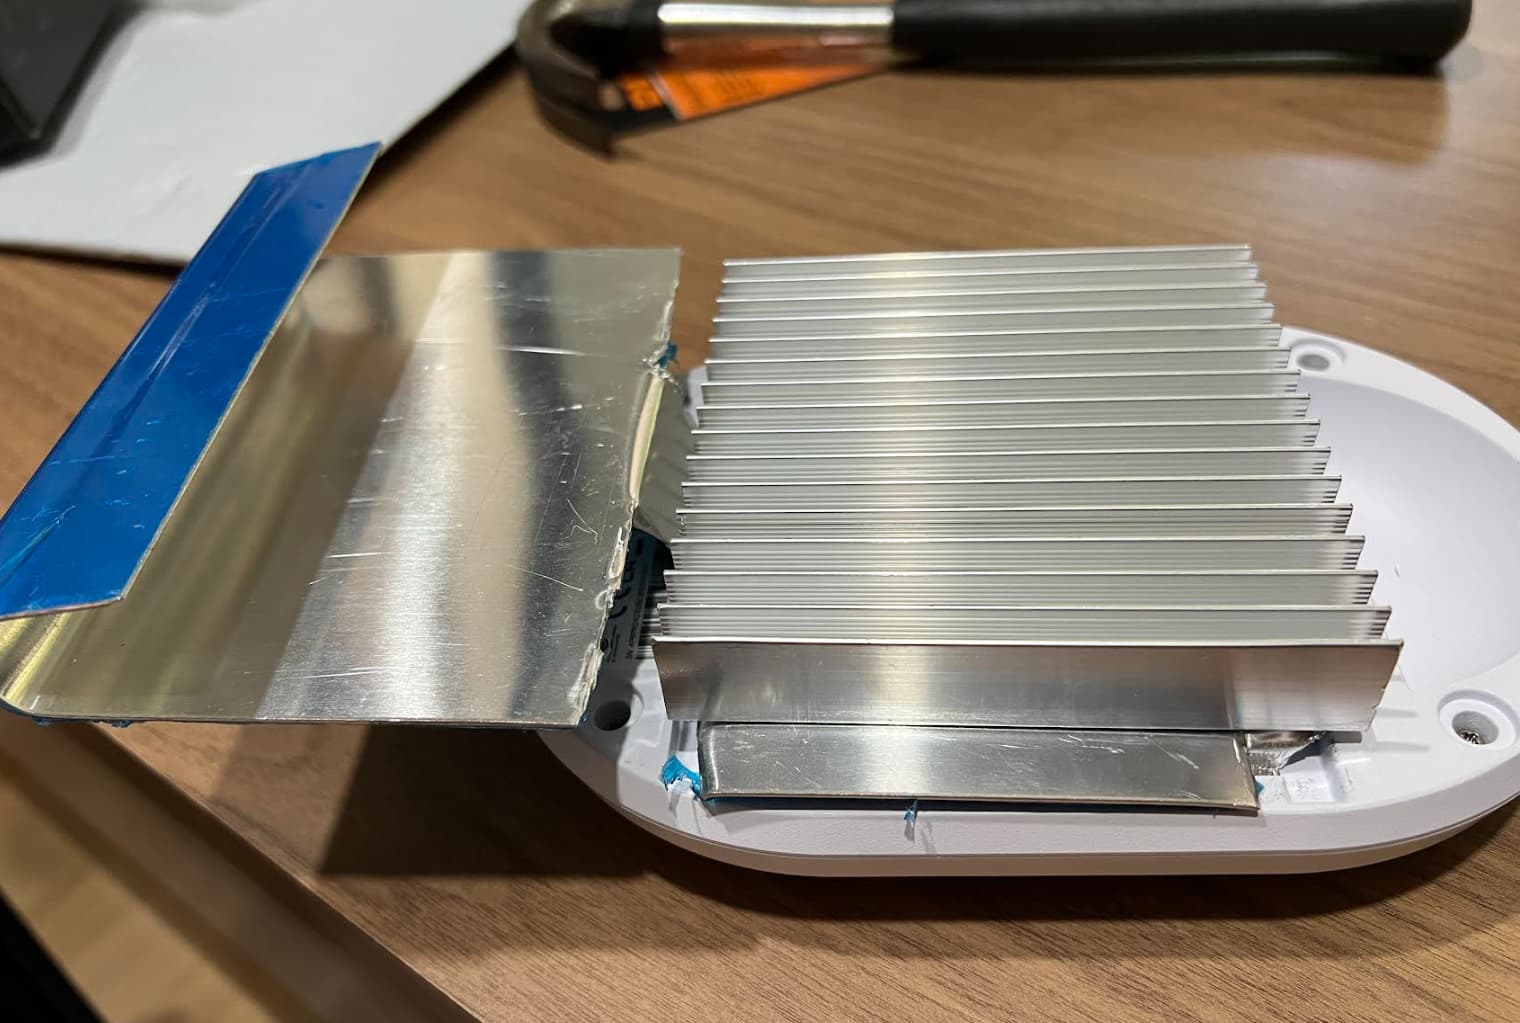
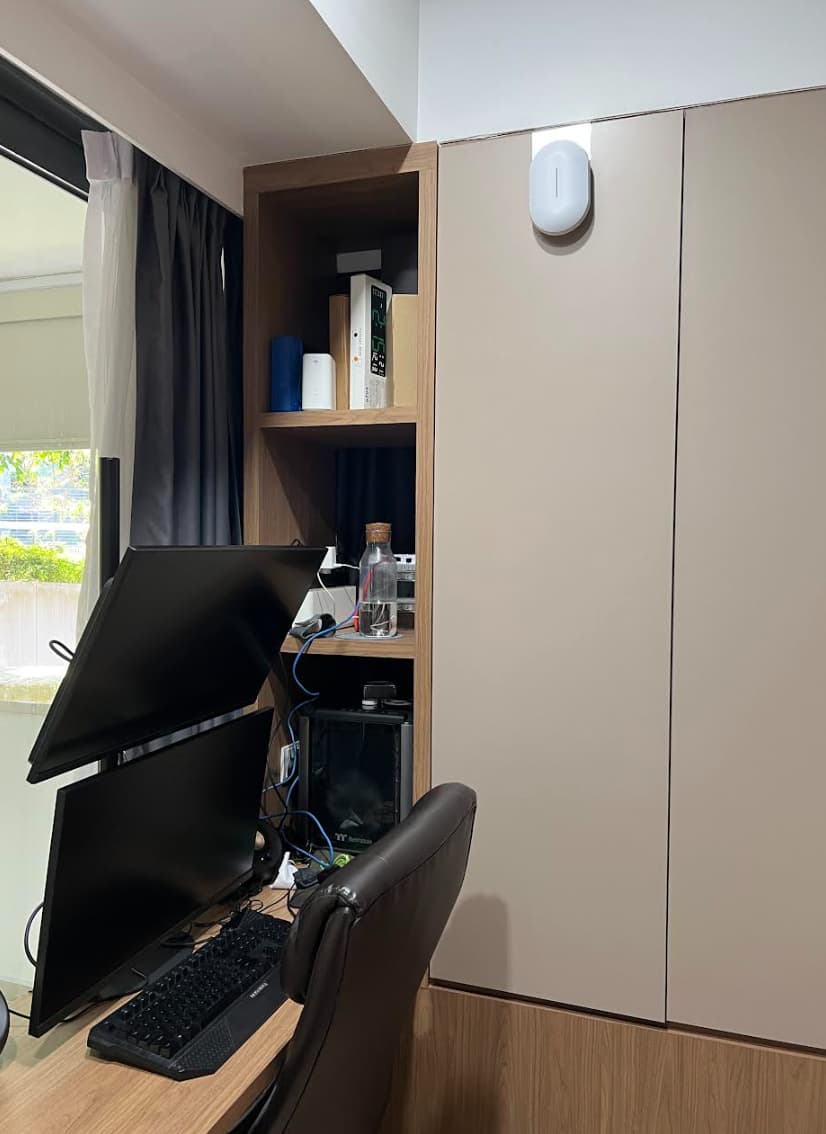
And here you go, the final look…my flat cable have not arrived yet but more or less you can imagine the cable will run to the top of the cabinet door, I may need to file a gap so that the door can be closed properly, right now it’s slighly ajar after I put in a normal ethernet cable
I will try this design for the time being until my new home is ready in 2 months time, I may change the design if I have new inspiration, hope you enjoy this story